经常有同学问Shopify如何导评论,导评论的插件有很多,这篇文章讲解下Loox导评论的步骤。需要提醒一下,使用导评论功能是有风险的,比如,如果您开通了谷歌购物广告,使用导评论会被判定虚假的可能,导致账号被封,或解封不通过。
1.打开Shopify商家后台

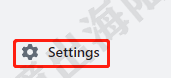
2.点击左下角Settings
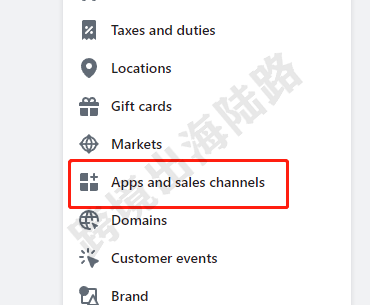
3.点击Apps and sales channels
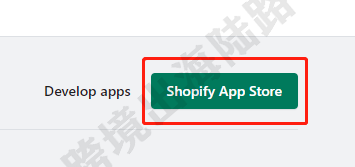
4.点击Shopify App Store
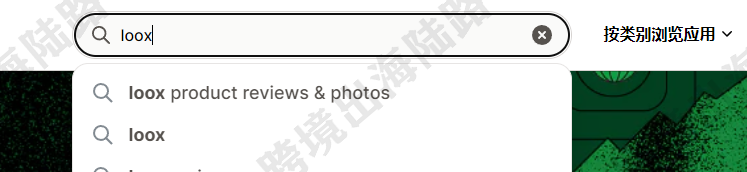
5.在搜索框里输入Loox
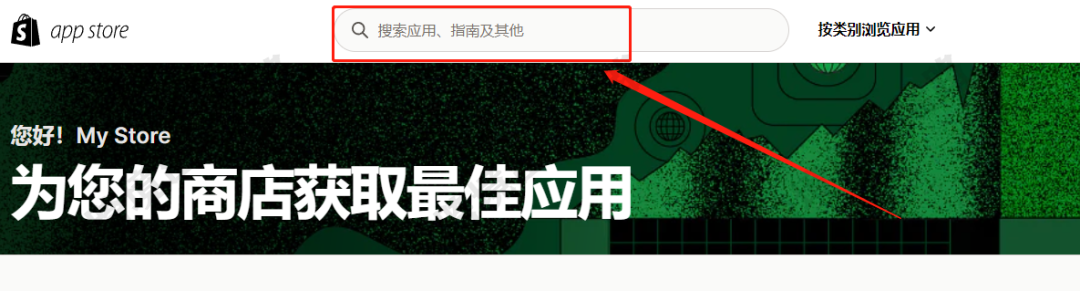
6.回车进行搜索
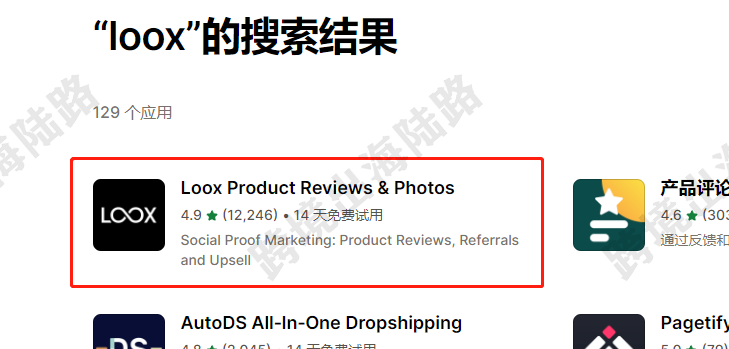
7.打开Loox Product Reviews & Photos
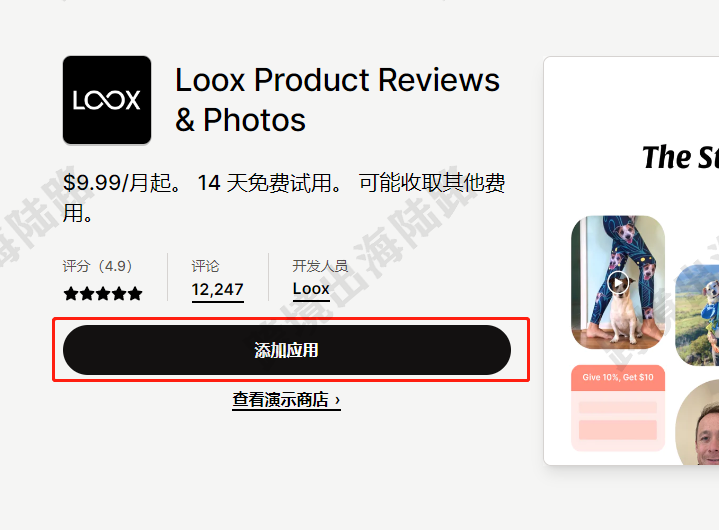
8.点击添加应用
9.点击Install app

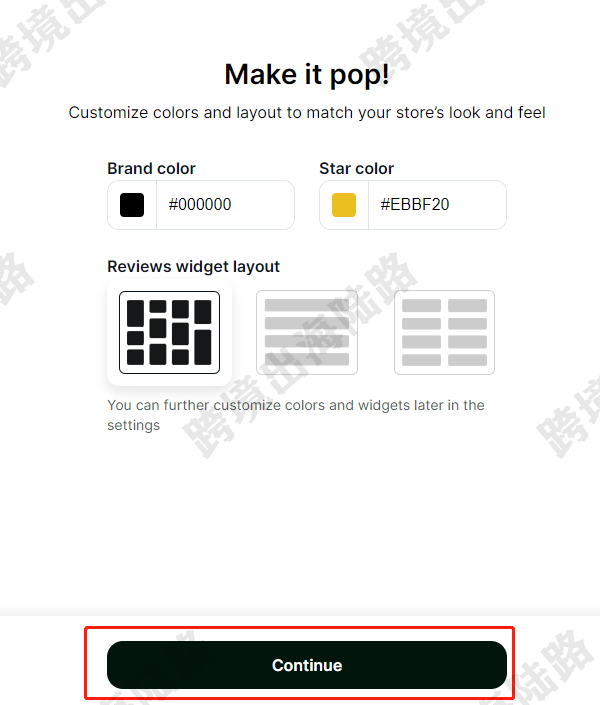
10.点击Continue
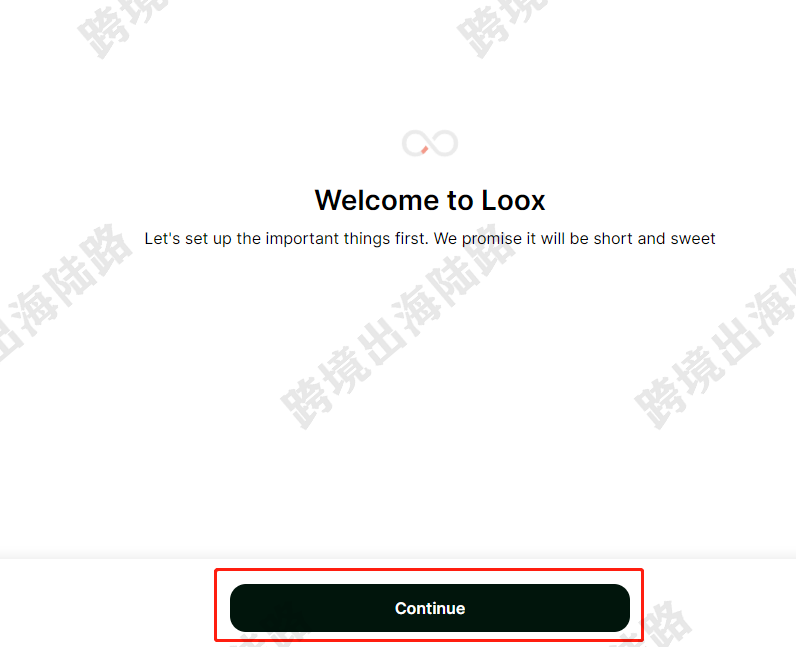
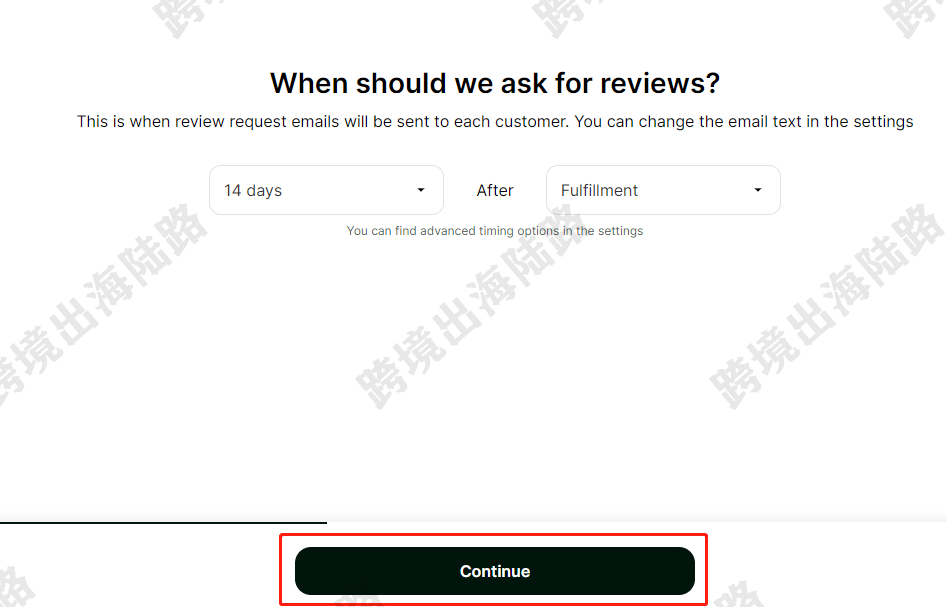
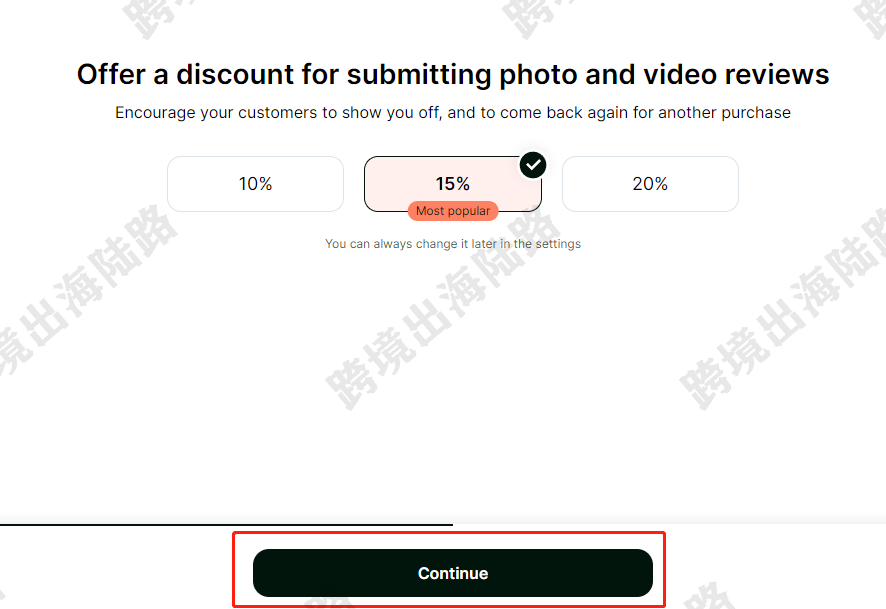
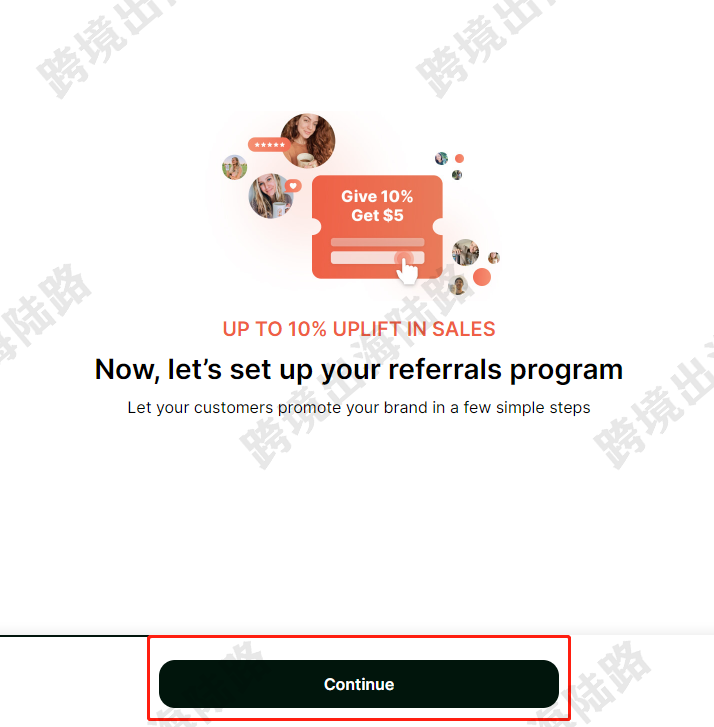
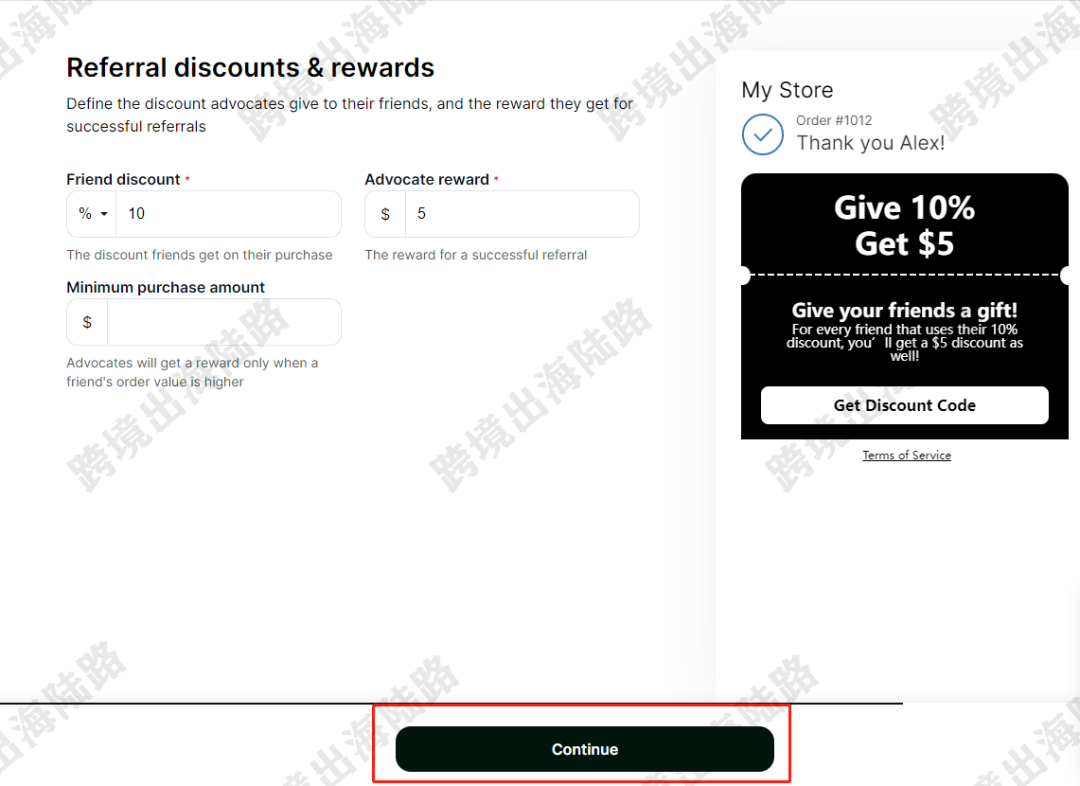
11.点击Continue。从第11步-第18步,是Loox插件的一些设置,因为我们主要介绍导入评论功能,所以直接点击Continue进行跳过,如果需要设置,可以先设置,也可以之后在Loox插件后台再进行设置。

12.点击Continue
13.点击Continue
14.点击Continue
15.点击Continue
16.点击Continue
17.点击Continue
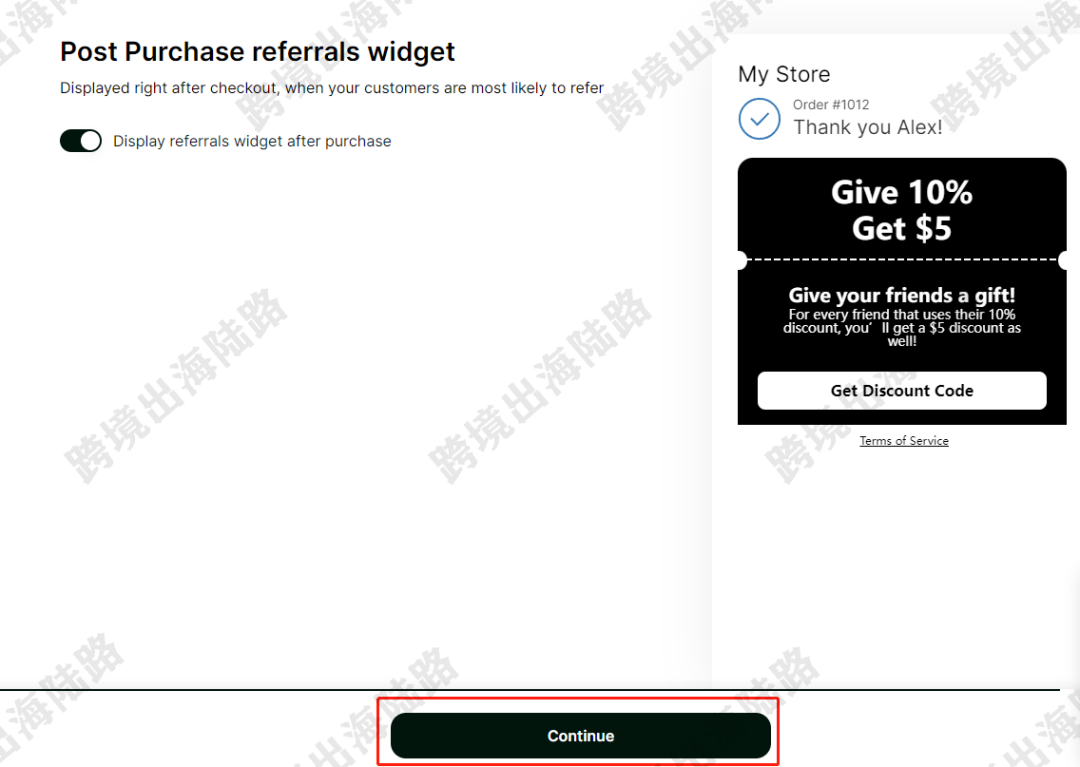
18.点击Continue。从第11步-第18步,是Loox插件的一些设置,因为我们主要介绍导入评论功能,所以直接点击Continue进行跳过,如果需要设置,可以先设置,也可以之后在Loox插件后台再进行设置。
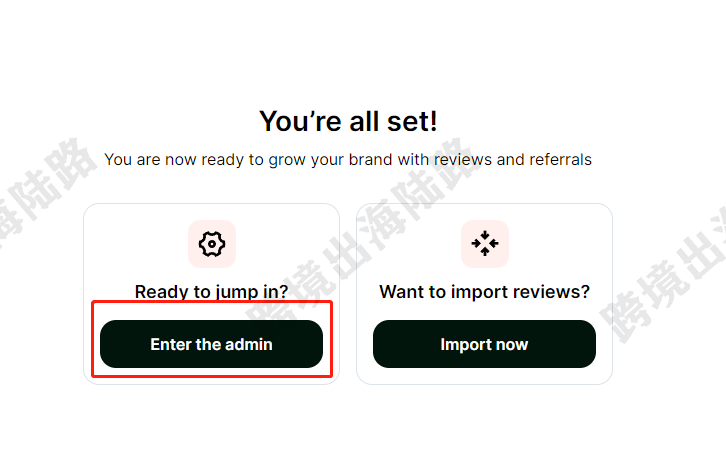
19.可以点击Import now直接去进行设置导入步骤,也可以先点击Enter the admin进入到Loox插件主页,我们先点击Enter the admin,带大家从Loox插件主页进入安装,方便熟悉布局
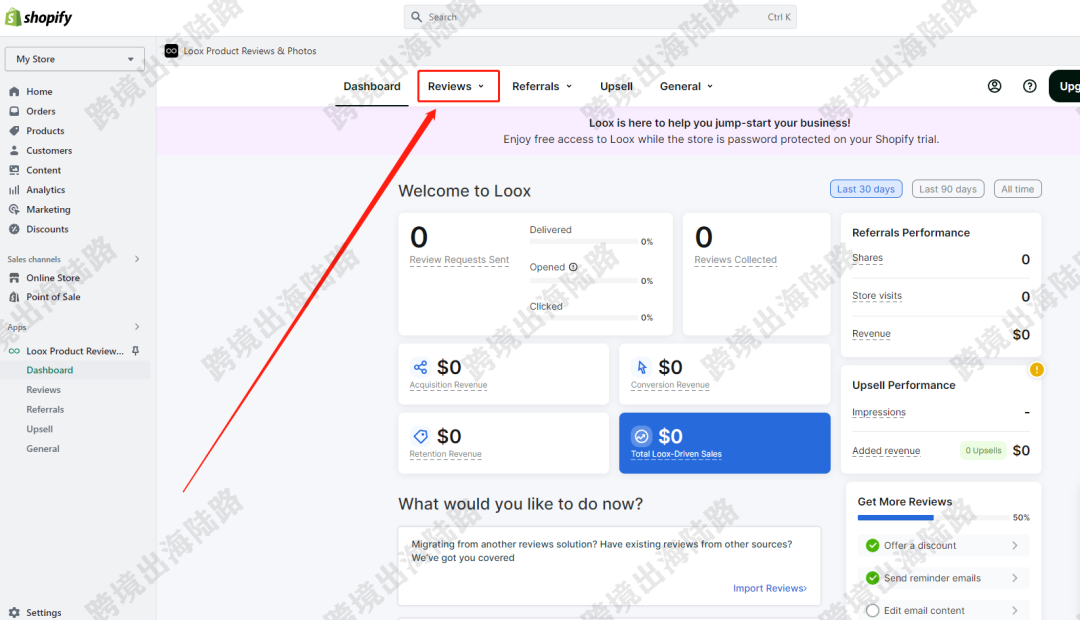
20.这就是Loox插件的主页,点击Reviews
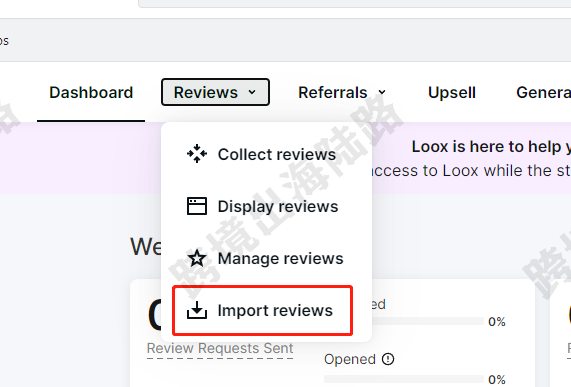
21.点击Import reviews
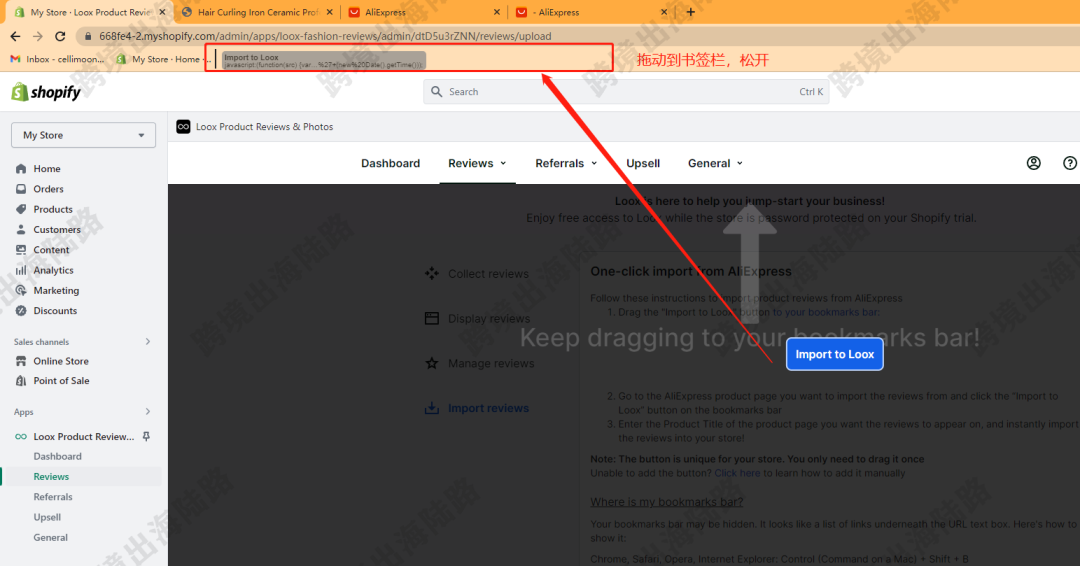
22.将Import to Loox用鼠标左键点击按住,拖动到书签栏,注意是书签栏,不是地址栏。我演示的是谷歌浏览器,如果浏览器没有书签栏,可以在浏览器右上角点击三个点>书签>显示书签栏

23.如图所示,拖动到书签栏,然后松开鼠标左键
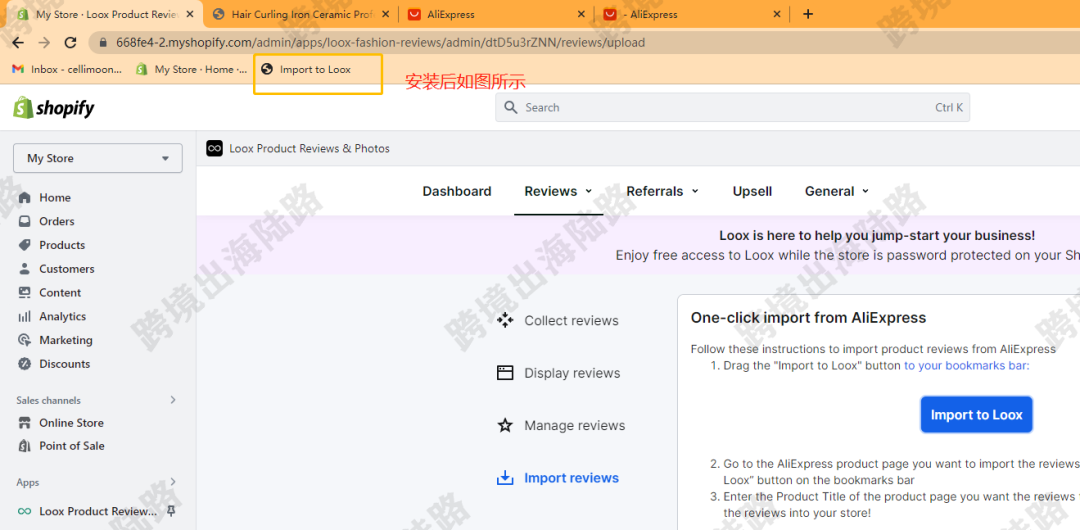
24.安装后如图所示
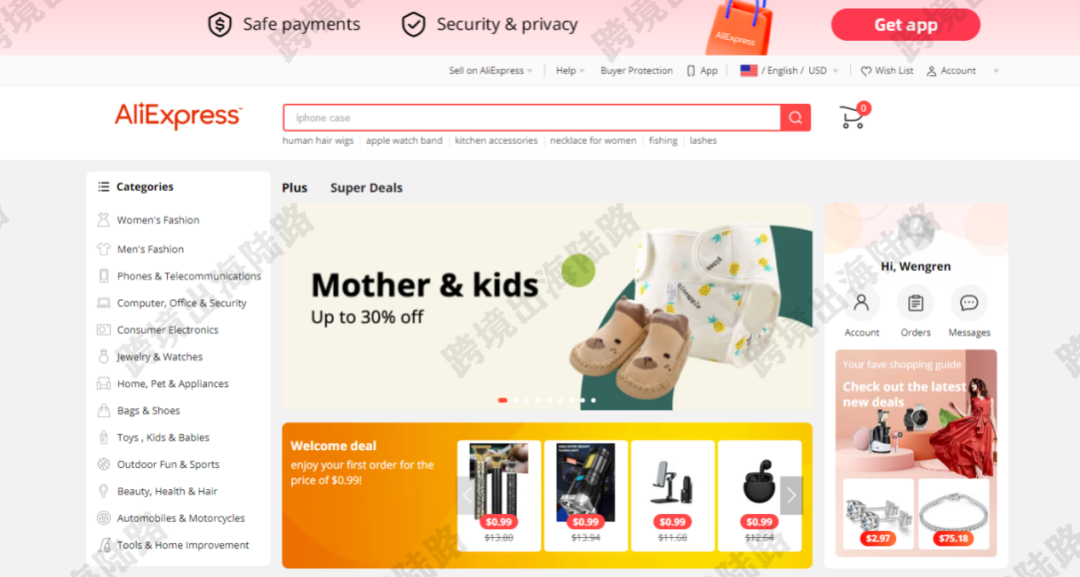
25.以下为使用步骤,打开速卖通网站,访问网址:https://www.aliexpress.com/
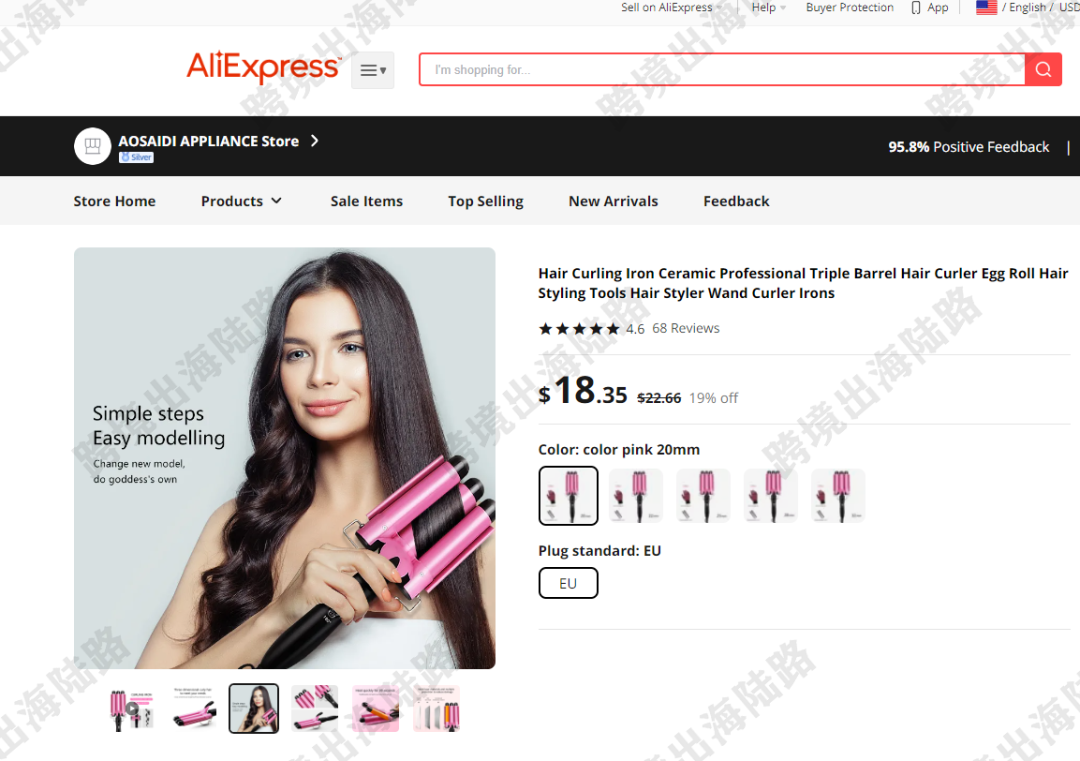
26.找到目标产品。如果只是导星,导评论数量,可以是不一样的产品。如果还想导带图片的,那就最好找和网站一样的产品。也可以结合使用。
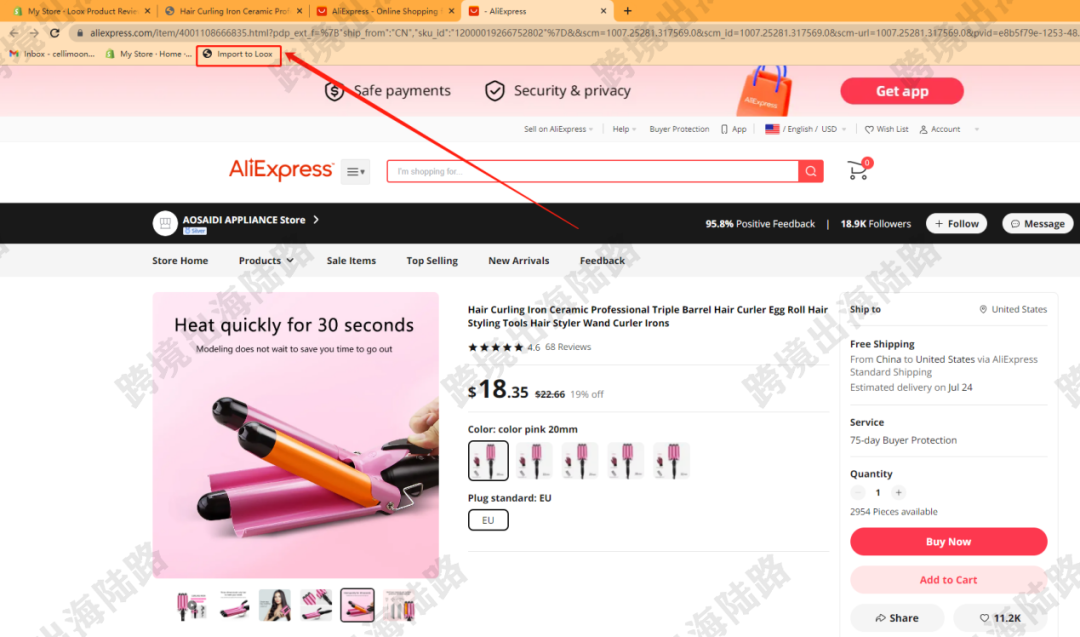
27.打开目标产品后,在书签栏,点击Import to Loox
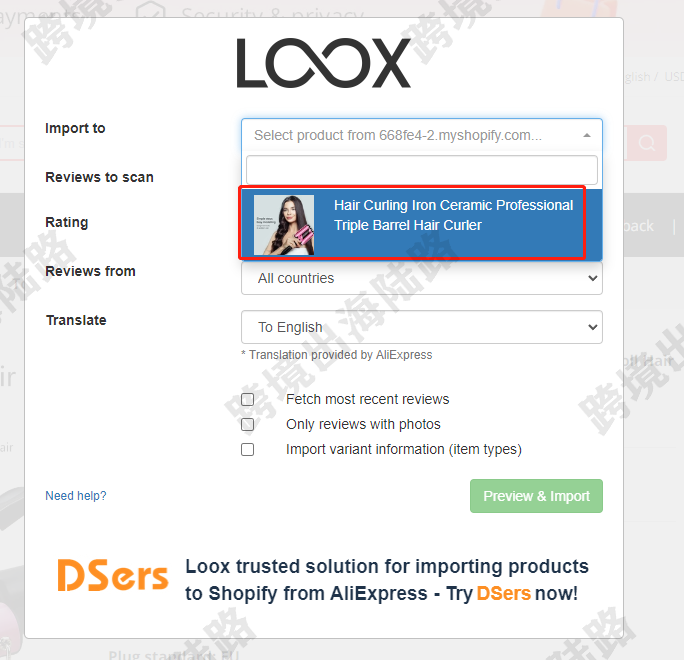
28.在Import to处,点击
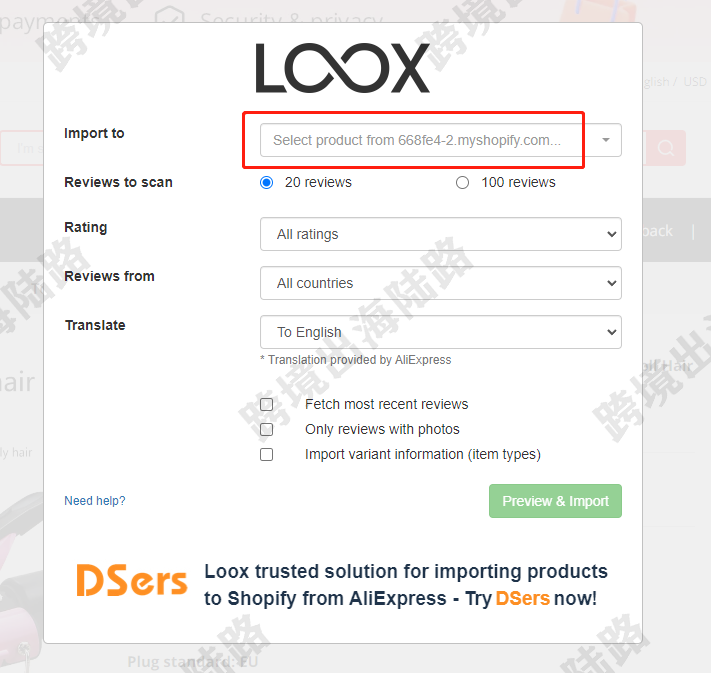
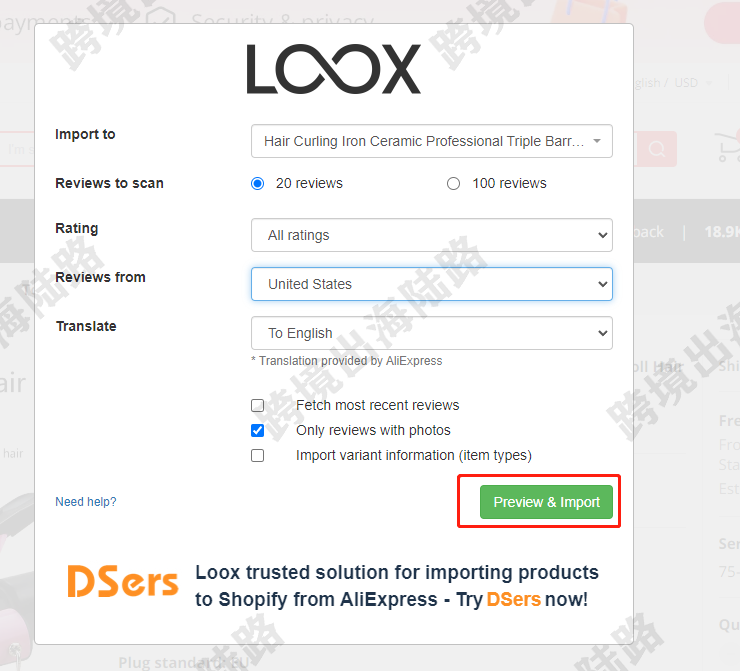
29.选择自己预导入评论的产品,也可以在搜索框输入产品标题进行查找预导入评论的产品
30.可以选择扫描数量,这里的数量不代表实际结果数量,取决于下方您对评论的要求和速卖通这个产品页本身的数量。
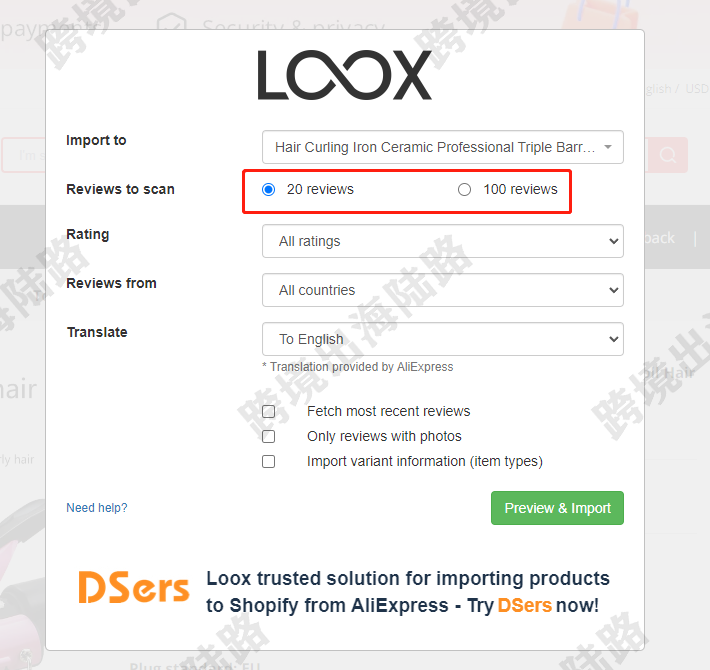
31.可以根据需求,设置对评论的要求
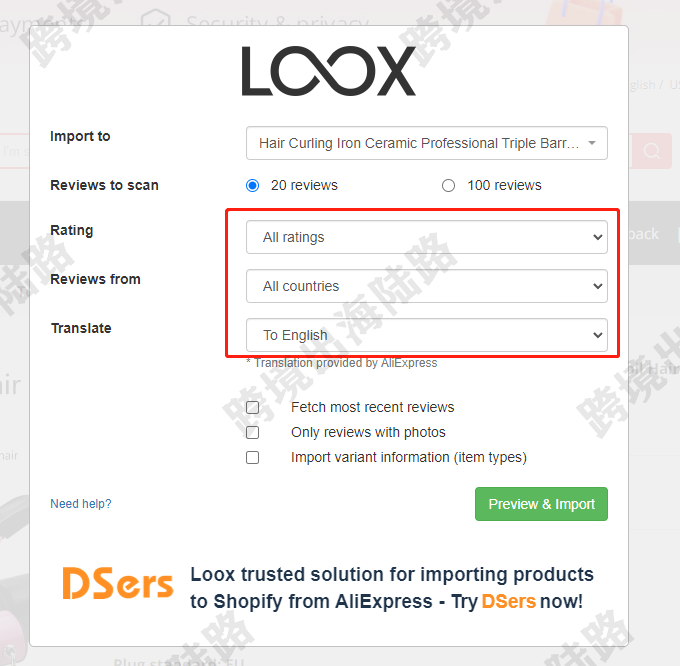
32.可以根据需求,设置对评论的要求
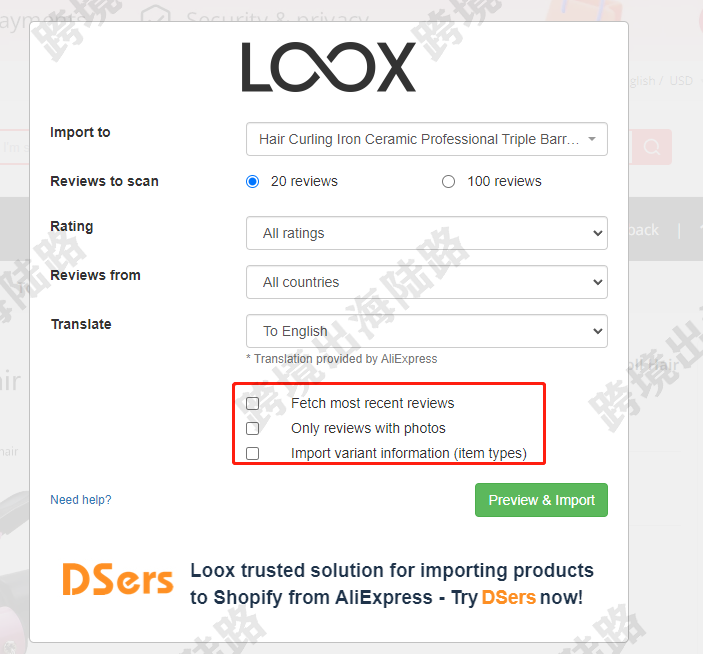
33.设置目标评论要求后,点击Preview & Import
34.可以预览预导入的评论,看我下图标记的文字,可以选择是否导入文本,可以舍弃这条评论,如果满足需求,可以点击Import将此条评论导入到自己的网站

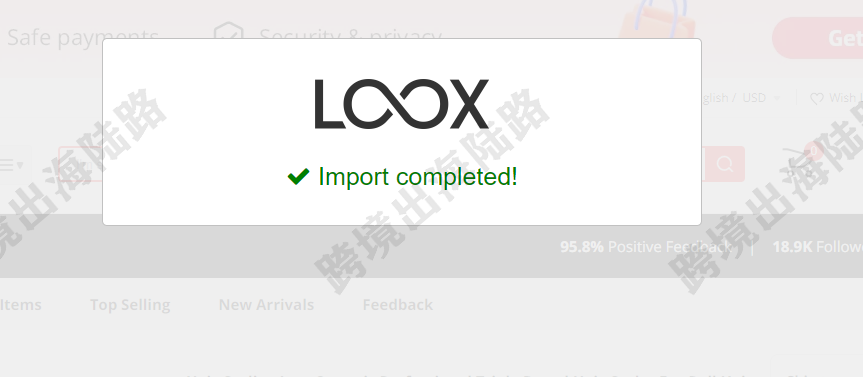
35.导入完,如图所示
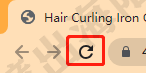
36.在自己网站的目标产品页,点击刷新
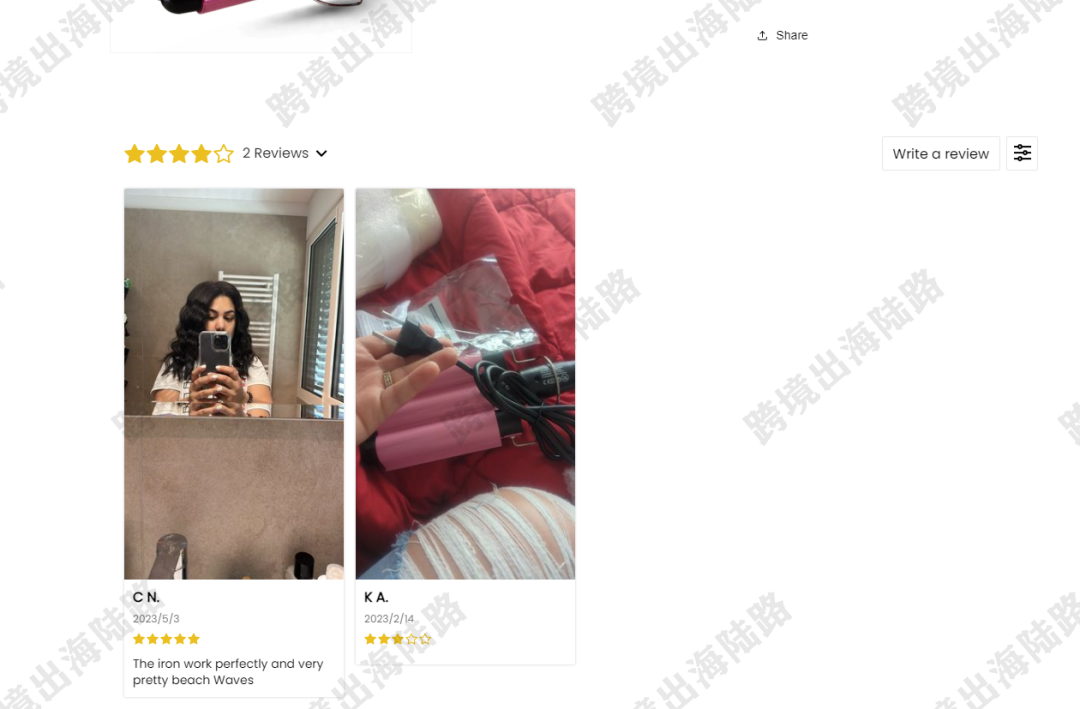
37.可以在产品页,看到导入的评论
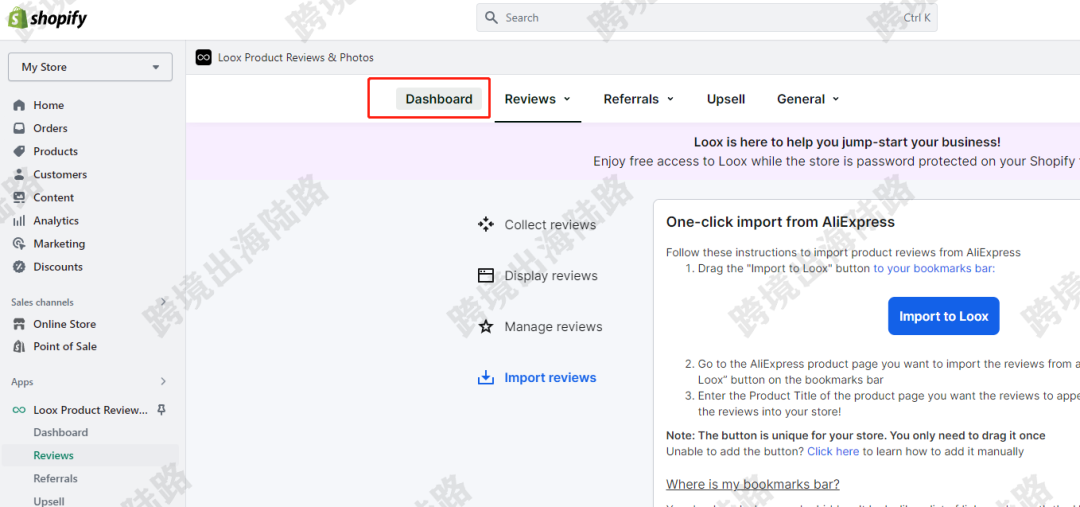
38.那怎么管理导入的评论呢?点击Dashboard
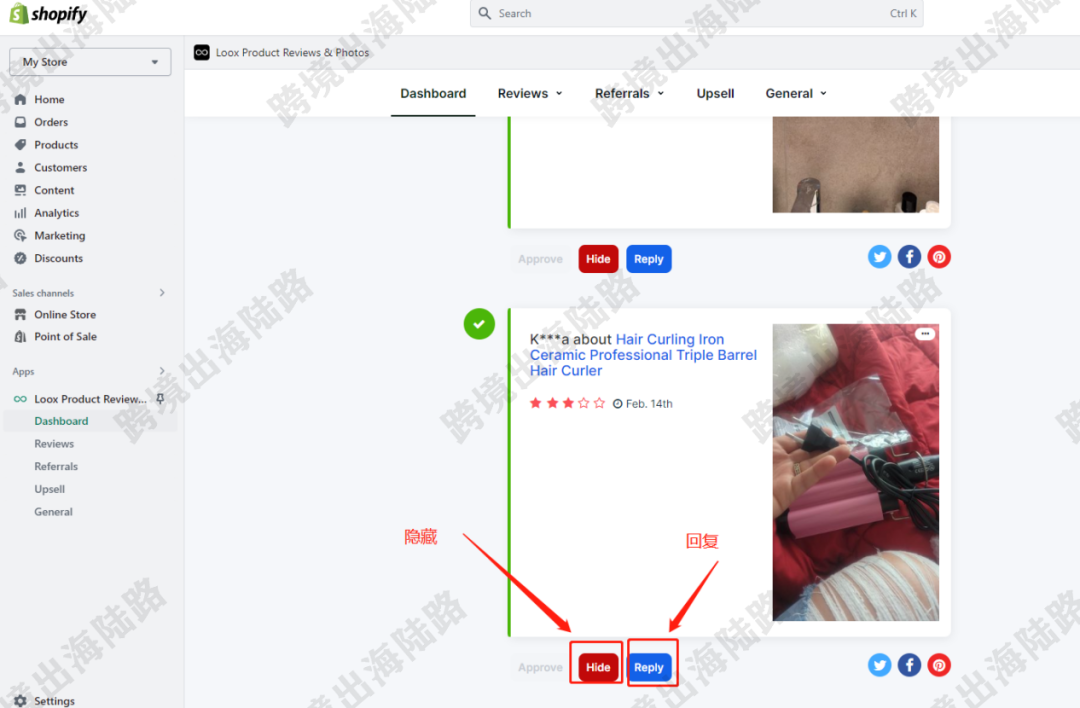
39.可以对评论进行隐藏和回复
40.我们这篇文章主要讲解了Loox的导入评论功能,其他设置可以自行研究下,不明白的,可以联系博主。